The Process
The making of a fully custom instrument from beginning to end
Design
When you commission a D.G.Lukes instrument, every aspect of the design is carefully considered with you before work begins.
This includes the all important decision of an appropriate body size, selecting the most aesthetically and sonically complimentary tonewoods, and figuring out details like cutaways, bindings and custom inlays.
Using computer-rendered mock-ups, we can visualise the instrument with the actual wood sets available in the workshop, experimenting with different combinations and optimising the design for your tastes and preferences. This process takes out much of the guesswork from commissioning, and ultimately leads to a more successful instrument.
Tonewood
I pride myself in building, wherever possible, with local woods (often harvested from within a few miles’ radius) selected for the best performance in every component of the instrument, as well as their aesthetic beauty.
Although guitar building has, for the last couple of centuries, been dominated by the same few endangered exotic woods (Brazilian Rosewood, Ebony, Koa, Honduras Mahogany) I am drawing on a much older, pre-colonial tradition of stringed instrument building. Luthiers of old had a far greater understanding of the myriad species growing in their area, their strengths and weaknesses, and how to put them to incredible use in building truly local, sustainable and beautiful instruments.
It is through this tradition that I incorporate historic but now uncommon tonewoods like Laburnum, Yew, Walnut, Cherry, Linden, Plane and Sycamore, as well as some incredibly rare and sought-after woods like Fenland Bog-Oak, which has been rendered usable in large boards only recently through developments in the drying process.
Equipped with an intimate knowledge of the materials, it’s possible to achieve a totally unique sound which matches or even surpasses endangered exotics.
True, homegrown instruments.
The Body
The work of building an instrument really begins with the assembly of the back and sides.
I use my own blend of traditional and modern design philosophies when it comes to this crucial element.
My sides are hand bent on an iron in the traditional way, before being laminated with two thin layers of internal veneer. This gives lots of added stiffness and stability without adding much unnecessary weight. Delicate side braces and steam bent solid linings are then added for even greater stability.
The wood for the back is then carefully selected and bookmatched, before being precisely thicknessed and braced for optimum sound transfer to the top.
I like to pay as much attention to the insides of my instruments as the outsides - the centre join is reinforced with decorative cleats and a wooden label mount, and the back and sides are sealed and waxed before final assembly.
The Soundboard
Arguably the most important contributor to the overall sound of the instrument, no expense is spared with the soundboard.
Firstly, wood is selected for its stiffness to weight ratio and overall resonance. It is then bookmatched and carefully hand thicknessed.
This is where a well made, hand built instrument will shine. I am able to take the time and care that a factory setting simply can’t in order to get the most out of every individual piece of top wood. I aim to remove just the right amount of material to achieve a resonating surface which moves freely without being structurally unsound - a delicate balance to strike.
Next, a custom rosette is inlaid and the soundhole is cut.
Lastly, braces are installed according to the type of instrument. Once in place, they are carefully carved back in a similar manner to the soundboard surface to arrive at a well rounded, responsive sound.
At this stage the top is ready to be joined to the body assembly.
Binding and Purfling
Once the body is assembled, it’s time to install binding and purfling. Whilst the purfling is mainly a decorative feature, the binding serves the important function of protecting the delicate top and back from impacts which could cause cracks. Furthermore, it covers the exposed endgrain of the plates, making them less vulnerable to rapid humidity fluctuations which can also lead to cracks.
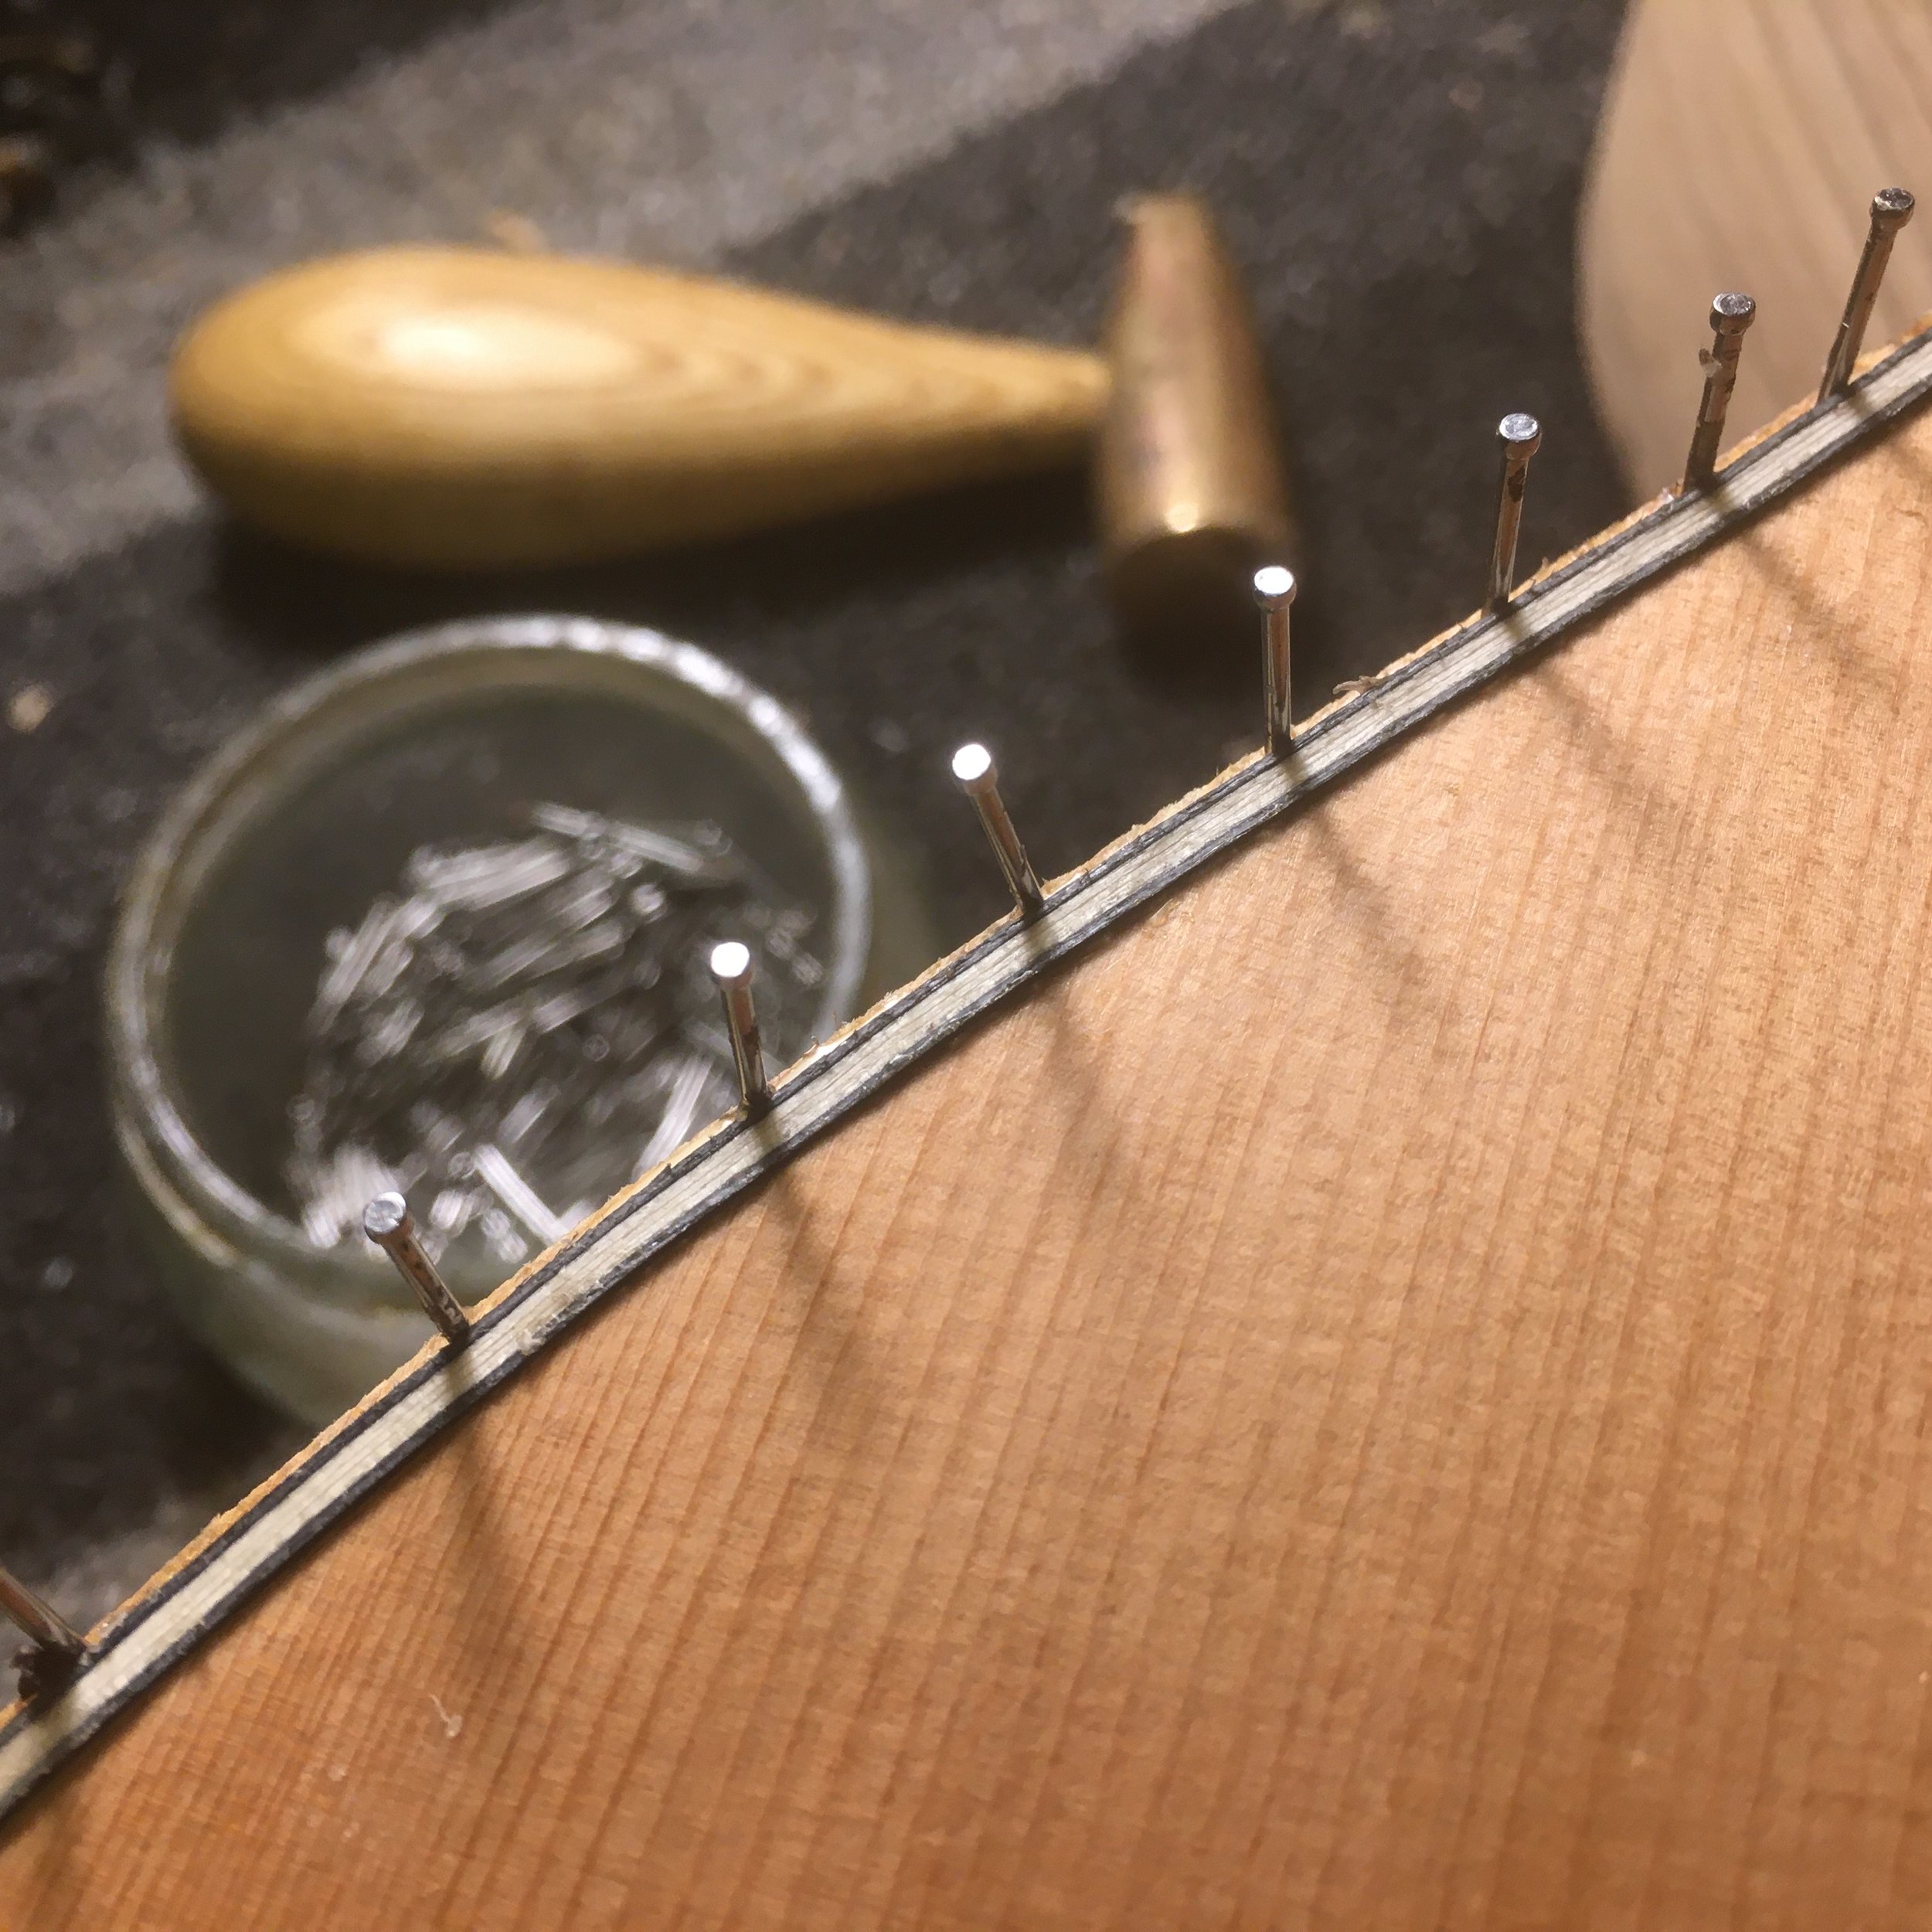
To install the purfling, I cut a channel into the outside edges of the top and back. The purfling strips are then steam bent and glued in place with temporary pins.
For the binding, a second channel is cut, but the binding is this time held on with rope whilst the glue dries.
Finally, the rope is removed, the new additions are trimmed and cleaned up, and the body is complete.
Inlay
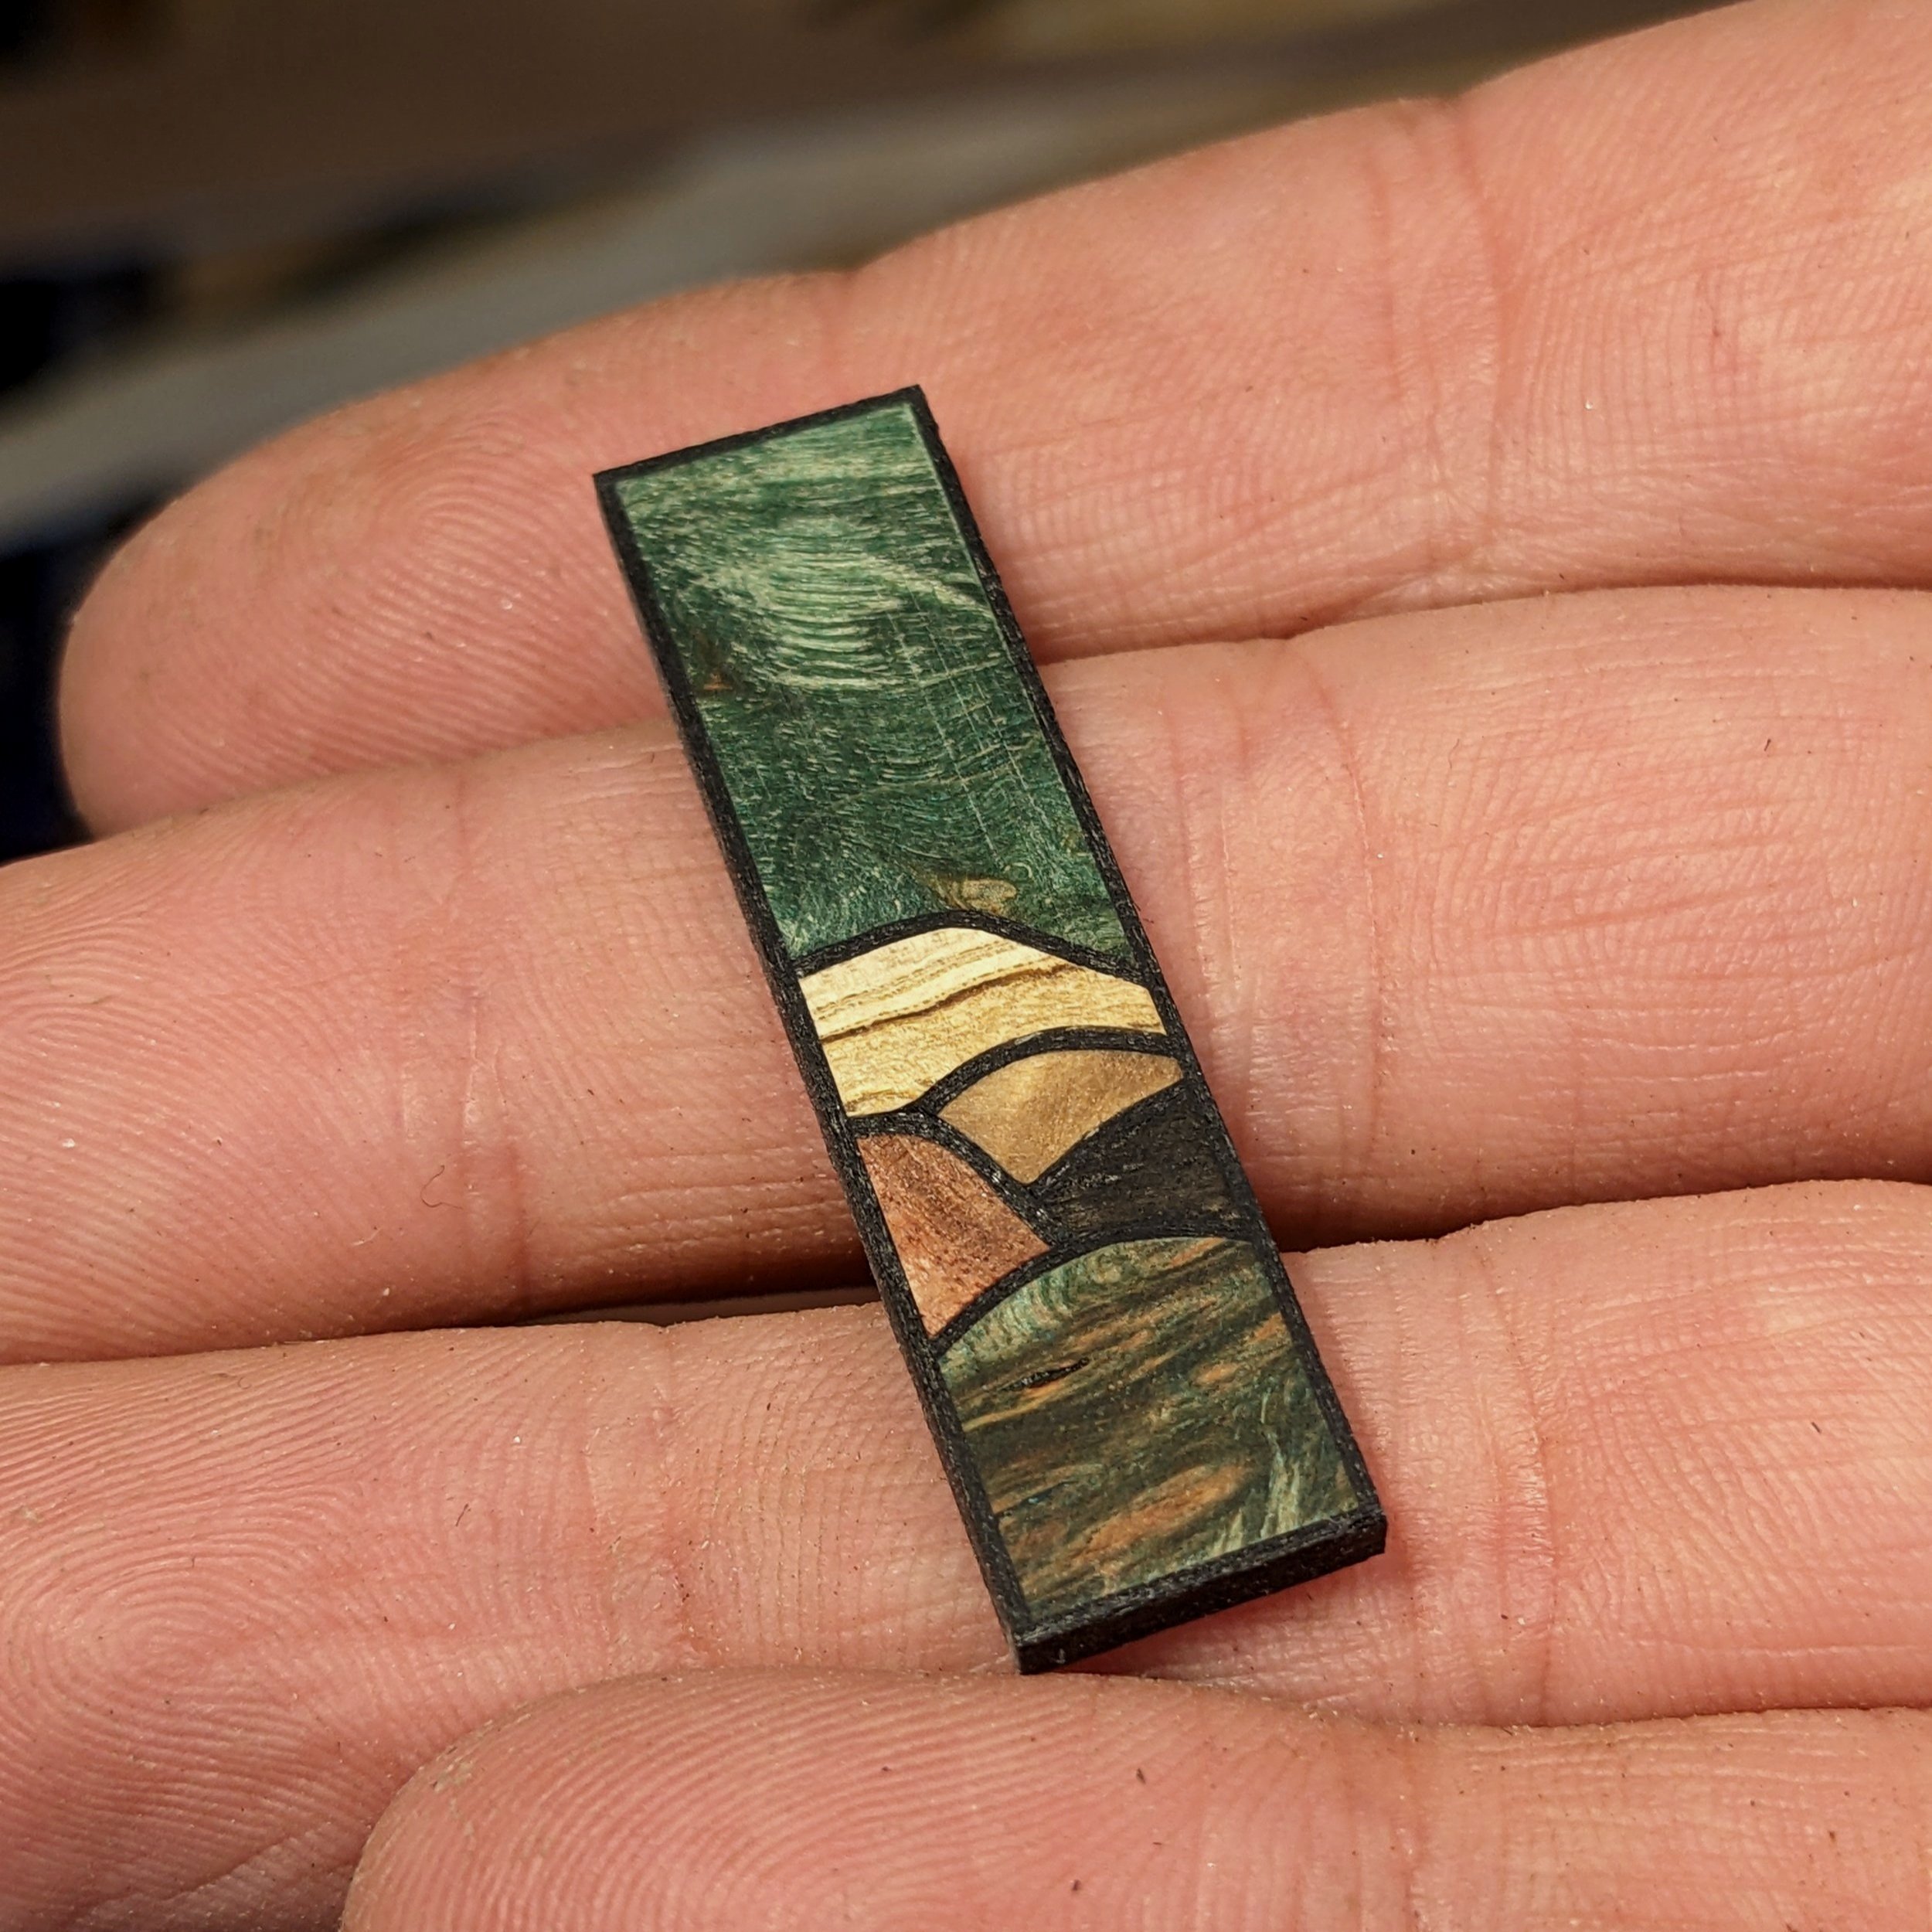
At various stages throughout the build, decorative inlays are prepared. These can range from the very simple, such as a framed rectangle of burl or accent wood, to more complex and ambitious pieces featuring dozens of different species of wood.
This is a chance to get really creative and give the instrument its unique personality. Inlay design is usually decided before the build starts in a back and forth between myself and the customer. The sky is the limit, so I really welcome ideas and suggestions at this stage.
Common areas of the instrument that are inlaid are the rosette, the endgraft, the 12th fret (or entire fingerboard), the headplate, and occasionally somewhere on the back.
However, it’s good practice to avoid large inlays on the lower portion of the soundboard, as this is area needs to be unencumbered in order to move and resonate freely.
The Fingerboard
Key to intonation and overall playability, every fingerboard is precision made to the highest tolerances with your preferred radius (or none at all).
Locally sourced wood laburnum (fumed to a chocolate brown colour or left with its natural, golden hue) is my preferred fingerboard wood, with its silky smooth touch, excellent wear resistance and beautiful medullary rays.
There are also other excellent, sustainable options available locally such as rocklite (a jet-black wood based ebony substitute), various maples, fruitwoods and of course fenland bog-oak.
Fret markers are cut to match the other elements of the instrument and tie it all together.
The Neck
Once work on the soundbox is complete, it’s time to make a neck.
My necks are carved from carefully selected, straight, quarter-sawn stock and reinforced with carbon fibre rods to ensure great stability over the life of the instrument. Steel string guitars are also fitted with a double action truss rod.
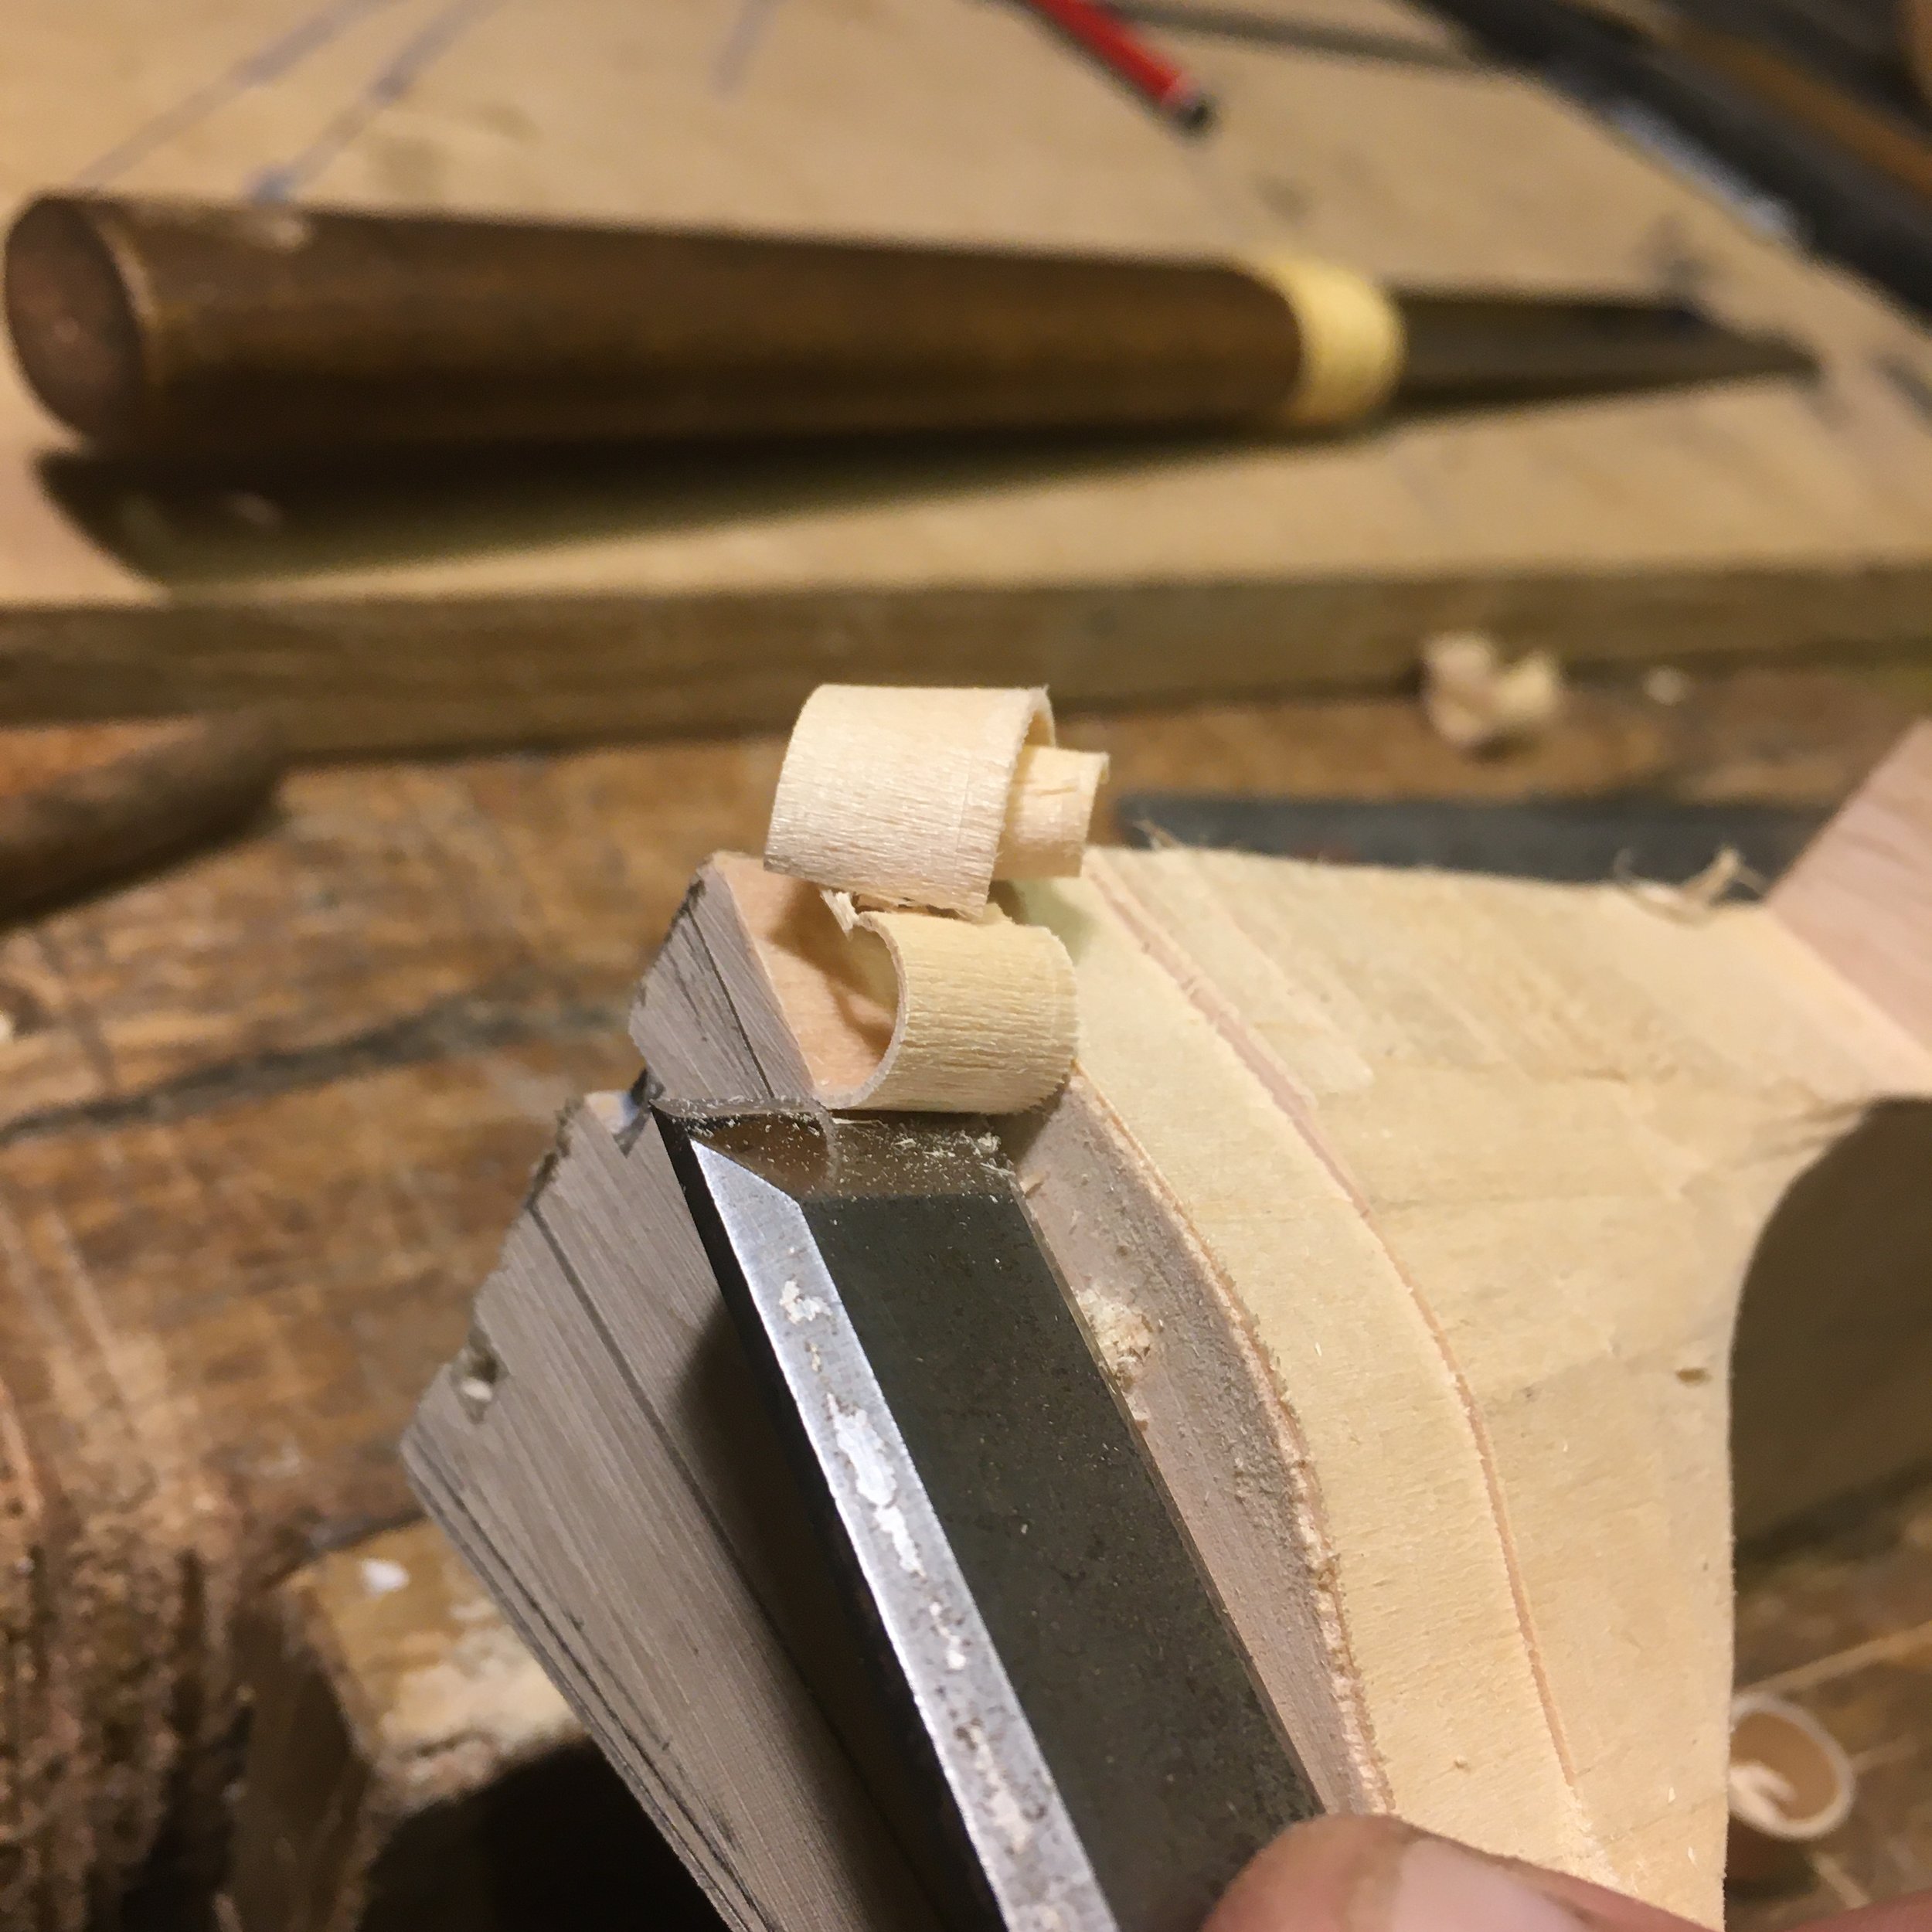
Once the blank is prepared, the main neck shaping is done by hand in a painstaking process that takes around two days. Each neck is thus unique and shaped according to your preferred specifications (e.g. to match an instrument you already love the feel of) or shaped as standard. There are no shortcuts to a great playing neck, so I take the time to make it perfect.
Special attention is payed to the volute, which is the area of the neck that sees the most use, and to the heel.
The Heel
The signature feature of a D.G.Lukes instrument is the heel. Every instrument gets its own fox, carved into the base of the neck.
Every fox turns out a little differently, and I like to think that they each have their own personality.
Although the carving is admittedly an ornamental feature, function still takes precedence. Players have noted that the thin nose profile is lower than that of a traditional heel, and the subtly indented ears feel very tactile, holding the thumb and acting as a reference as you explore the higher frets.
Another common question is whether one can install a strap button on a fox heel. If a strap will be used, I build a small supporting block into the inside of the shoulder of the instrument and turn a custom wooden button so that a strap can be fitted there without disturbing the fox.
Joining the Neck
The type of neck joint used depends on the instrument in question. For nylon strung guitars and ukuleles, I use a very traditional glued tapered dovetail joint. This provides a strong and durable joint which, having no hardware, is lightweight enough for smaller instruments. The tapered dovetail also allows for fine adjustments during the fitting process so that I can accurately dial in the proper neck alignment.
On steel strung guitars a different joint is used. A fully glueless bolt-on tenon, with a sliding dovetail fingerboard extension. This joint provides excellent durability whilst being totally reversible in the event of a neck-reset, finish repair or any other calamity that might befall the instrument.
The Headstock
With very few exceptions, D.G.Lukes instruments feature a slotted style headstock. The classic, timeless look really speaks to me and many players also find them more comfortable to tune from the playing position.
Functionally speaking, they are pretty much identical to the more common flat headstock. Despite the slots, the deeper profile means they weigh the same as other headstocks, and being behind the nut and far from the soundboard, there are no perceptible tonal differences.
Work on the headstock begins with a headplate, usually bound and designed to match the rosette of the instrument. The headplate is shaped separately before being glued to the angled, scarf-jointed portion of the neck.
After neck carving is complete, I trim the neck wood up to the headplate and cut the slots.
Lastly, I carve a deep scoop on one end of the slots so that the strings can run unobstructed from the tuners to the nut.
Finishing
With all the woodwork complete, I give the whole instrument a careful sanding before making a start on the finish.
Although I do occasionally give my instruments a full lacquer finish, I prefer to go for a hybrid approach.
I like to give the back, sides and neck in a tactile oil and wax finish, which leaves a gorgeous satin sheen and feels smoother and less sticky to the touch than a gloss lacquer. Another advantage is that it’s much thinner than a traditional finish, allowing the wood to resonate as intended.
Softer tops though usually need greater protection, especially if a plectrum is to be used. Therefore a thin lacquer finish is usually applied to the top of the instrument, either in satin to match the back and sides, or buffed up to a full gloss.
A great finish can set apart a good instrument from a great one, so I don’t cut any corners here. The process is done completely by hand and can sometimes take nearly as long as the woodwork stage.
Once fully satisfied with the finish, I assemble the instrument for the final time, joining the neck to the body.
The Bridge
The bridge forms the connection between the top and the strings that drive it, producing the sound. Its shape and physical properties are important to the sound, but it’s also an opportunity to add some personality.
The bridges of my steel string guitars usually feature a curved accent, designed to echo the lines found on the fingerboard and headstock ends.
Dense, dark coloured woods like laburnum and bog oak are ideal for the bridge as they carry high frequencies and resist wear from strings and hands. When shaping the bridge, I try to remove excess weight whilst keeping it strong enough to resist string tension.
When I’m happy with the shape, I cut the saddle slot and pin/string holes and prepare to join it to the top. The finish is carefully scraped away from the top around the bridge’s footprint to ensure a good join as I glue it on, clamping through the soundhole.
Setup
Before I can string the instrument for the first time, it needs a thorough setup. This includes making a nut and saddle, setting the truss rod (for a steel string) and doing the fretwork. A good setup is essential to a quality instrument and all the work so far would be in vain without one.
To protect the delicate finish, I wrap up the instrument with plenty of tape and a scratch proof top-cover. Then I grind off the very tops of the frets with a levelling beam until they are all the same height. Because this leaves a flat spot, I now have to restore the rounded shape to each fret - this is called re-crowning.
After polishing each fret back up to perfection I can remove the tape, oil the fretboard and string it up for the first time. But the instrument is still not ready.
The final setup happens only after a few weeks’ resting period, where all the components slowly settle in under string tension. After this period, I lower the action at the nut and saddle (as low as possible for a delicate player, and a bit higher for a heavy hitter) and set the intonation.
And only then, as if by magic, an inanimate piece of wood becomes a living, breathing musical instrument.
Final Touches
Once the strings are on and everything is as it should be, I fit the strap buttons, or pickup if requested.
I like to turn my own wooden strap buttons on the lathe to match the rest of the instrument. These are fitted slightly differently to a metal button, being turned to a taper and tapped into a hole with a matching taper.
This is arguably much stronger than a thin metal screw, which is prone to stripping out, and to my eyes much prettier too.
Now, at long last, the instrument is complete and ready to leave the workshop!


